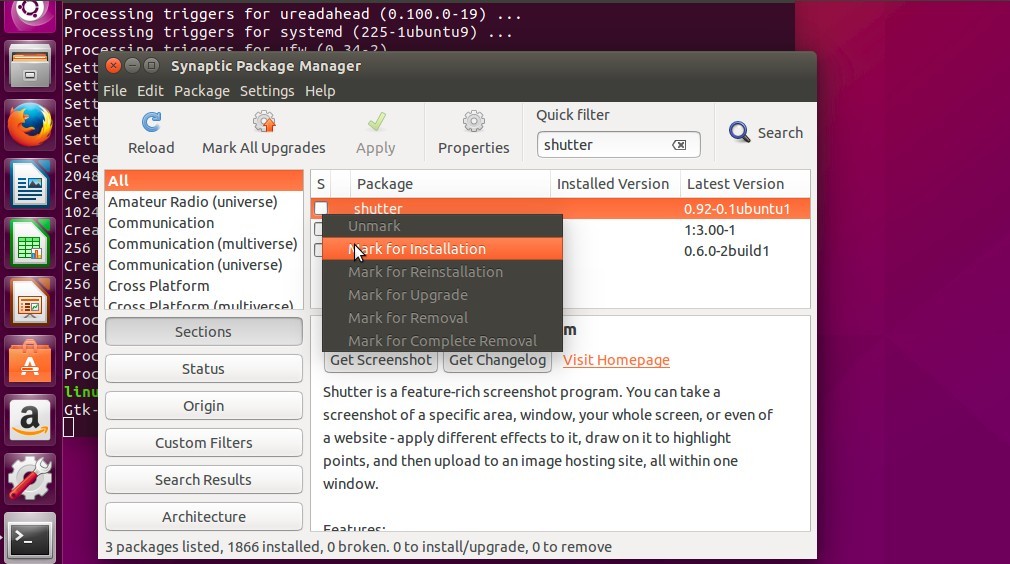
What ist Shutter?
Shutter in my opinion is the best tool when it comes to Screenshots on the Linux desktop. It integrates seamlessly into the Gnome desktop via an Indicator applet in the panel and is additionally equipped with an editor to screenshots Subsequent to edit screen. For example, you can quickly insert arrows, texts and geometric shapes to clarify the recording without having to load another image editing program
Overall, Shutter reminds me of the operation and the range of functions, very much to the well-known from the Windows world and paid program Snagit TechSmith.

In addition to the basic functions, such as the inclusion of individual windows, as well as the selection of specific screens, Shutter offers some highlights that are not found in every screenshot tool:
- Screenshot of a website by entering a URL
- Direct upload of the screenshots to Ubuntu One, an FTP server or other services
- Plug-in system for image effects (e.g., adding watermarks)
- Export of screenshots as PDF
- Management of different recruitment profiles
Shutter is already included in the Ubuntu 10.10 sources in version 0.86.3 and can be easily installed via the Ubuntu Software Center.
New Version Shutter 0.87 – the two most useful new features introduced shortly
A few days ago, version 0.87 has been released. In addition to some detail enhancements, such as the inclusion of rounded windows when using Compiz, the inclusion of the last active window, and an auto-start option after login, there are two new features that I find really useful.
1. Automatic resizing of windows:
Windows can now be automatically reduced or enlarged to a specific height and width of pixels before shooting. After the screen capture, Shutter resets the captured window to its original size. This feature is particularly interesting for bloggers, or generally for the publication of screenshots on websites. Most of the time you have to stick to a specific layout. A certain width may not be exceeded in many cases.

2. Operation of shutter via the command line:
Actually, my personal highlight of this version: Screenshots can now be taken from the command line. This is particularly interesting, in order to automatically generate recordings from scripts
An overview of the different options that exist when taking pictures via the command line is available via the option --help. From the command line, you can create all the basic types of screenshots that are also available through the GUI. I will only introduce the most important ones here.
Recording the entire screen content:
shutter -fRecording the active window:
shutter -aRecording a website:
shutter --web=https://www.google.deCapture a section of the screen: take a website:
shutter -s=100,100,500,500Where the numeric parameters from left to right are X, Y, width and height.
Recording a window using a name pattern:
shutter --window=.*Chrome.*The name pattern (here: .*Chrome.*) is one Regular Expression in perl format. However, if multiple windows apply to the regular expression (here with multiple open Chrome windows), only one shot will be taken. Rerunning the command will then pick up the next window, but so far I have not found a workable solution on how to tell from the script whether all the windows that match the expression are already included.
For scripting, I recommend creating your own profile. In the profile you can then specify a separate directory for the recordings for the script. The profile can then with the option -p=Profilname choose:
shutter -p=shell --web=https://www.google.de
Installation of the new version Shutter 0.87
For Shutter give it your own PPA,so the installation of the new version is quite simple:
sudo add-apt-repository ppa:shutter/ppa

sudo apt-get update

sudo apt-get install shutter
Here you can find more information about Shutter 0.87 Release – including changelog and a few videos to demonstrate the new features.


cirrus7 nimbini
cirrus7 incus
cirrus7 nimbus
cirrus7 AI-Box TX2
Discover more about our products.
You can also contact us to get in touch with us.